This is the story of how this quilt and others like it came to be. Once I finish it, I hope to some day host a similar mystery only with easier blocks.
This project was a mystery "designer" quilt challenge I hosted in 2011. The participants each chose a theme for their own quilts and emailed me "rules" and "techniques". I set the size parameters each month and then randomly used one of their rules and techniques.
I thought it would be fun to revisit the rules as I organize where to move next on my barns.Rule #1 released Jan 10, 2011
SIZE: Make a 12” finished unit.
RULE: Make at least 4 flying geese
TECHNIQUE: There is no technique specified for this first time. You can paper-piece, rotary cut, appliqué, whatever you want.
This is what I made from my own design using thread work, paper piecing, and some fabric painting. The flying geese are in the grain silo. They are paper pieced - very small.
SIZE: Make a 12” x 8” unit. When this unit is finished, add it to the TOP OR THE BOTTOM of the #1 unit.
RULE: “A rectangle big enough to showcase the theme of the quilt by fussy cutting a theme fabric OR using an appliqué OR an embroidery OR a photo. "
TECHNIQUE: Any hexagon shaped (6 sided) technique.
My rectangle to showcase the theme was the piece that says "Bud's Moo-tel". Bud was my grandpa, and this represents his barn. I also appliqued a hexagon window to meet the technique.
SIZE: Make a 20” x 5” unit. When this unit is finished add it to EITHER the RIGHT or LEFT SIDE of the quilt.
RULE: “Use a color or fabric you would never normally use. "
TECHNIQUE: embroidery (hand or machine)
I used the scarecrow/sunflower large print for my "never use" fabric and hand embroidered the fence.
SIZE: Make a section that is 17” wide by 7” tall finished This piece needs to be made to fit on the TOP or BOTTOM of your quilt.
TECHNIQUE: needle-turn appliqué (no machine)
Again, you don’t have to make the entire block using the needle-turn technique – only some of it.
RULE: Make positive/negative blocks.
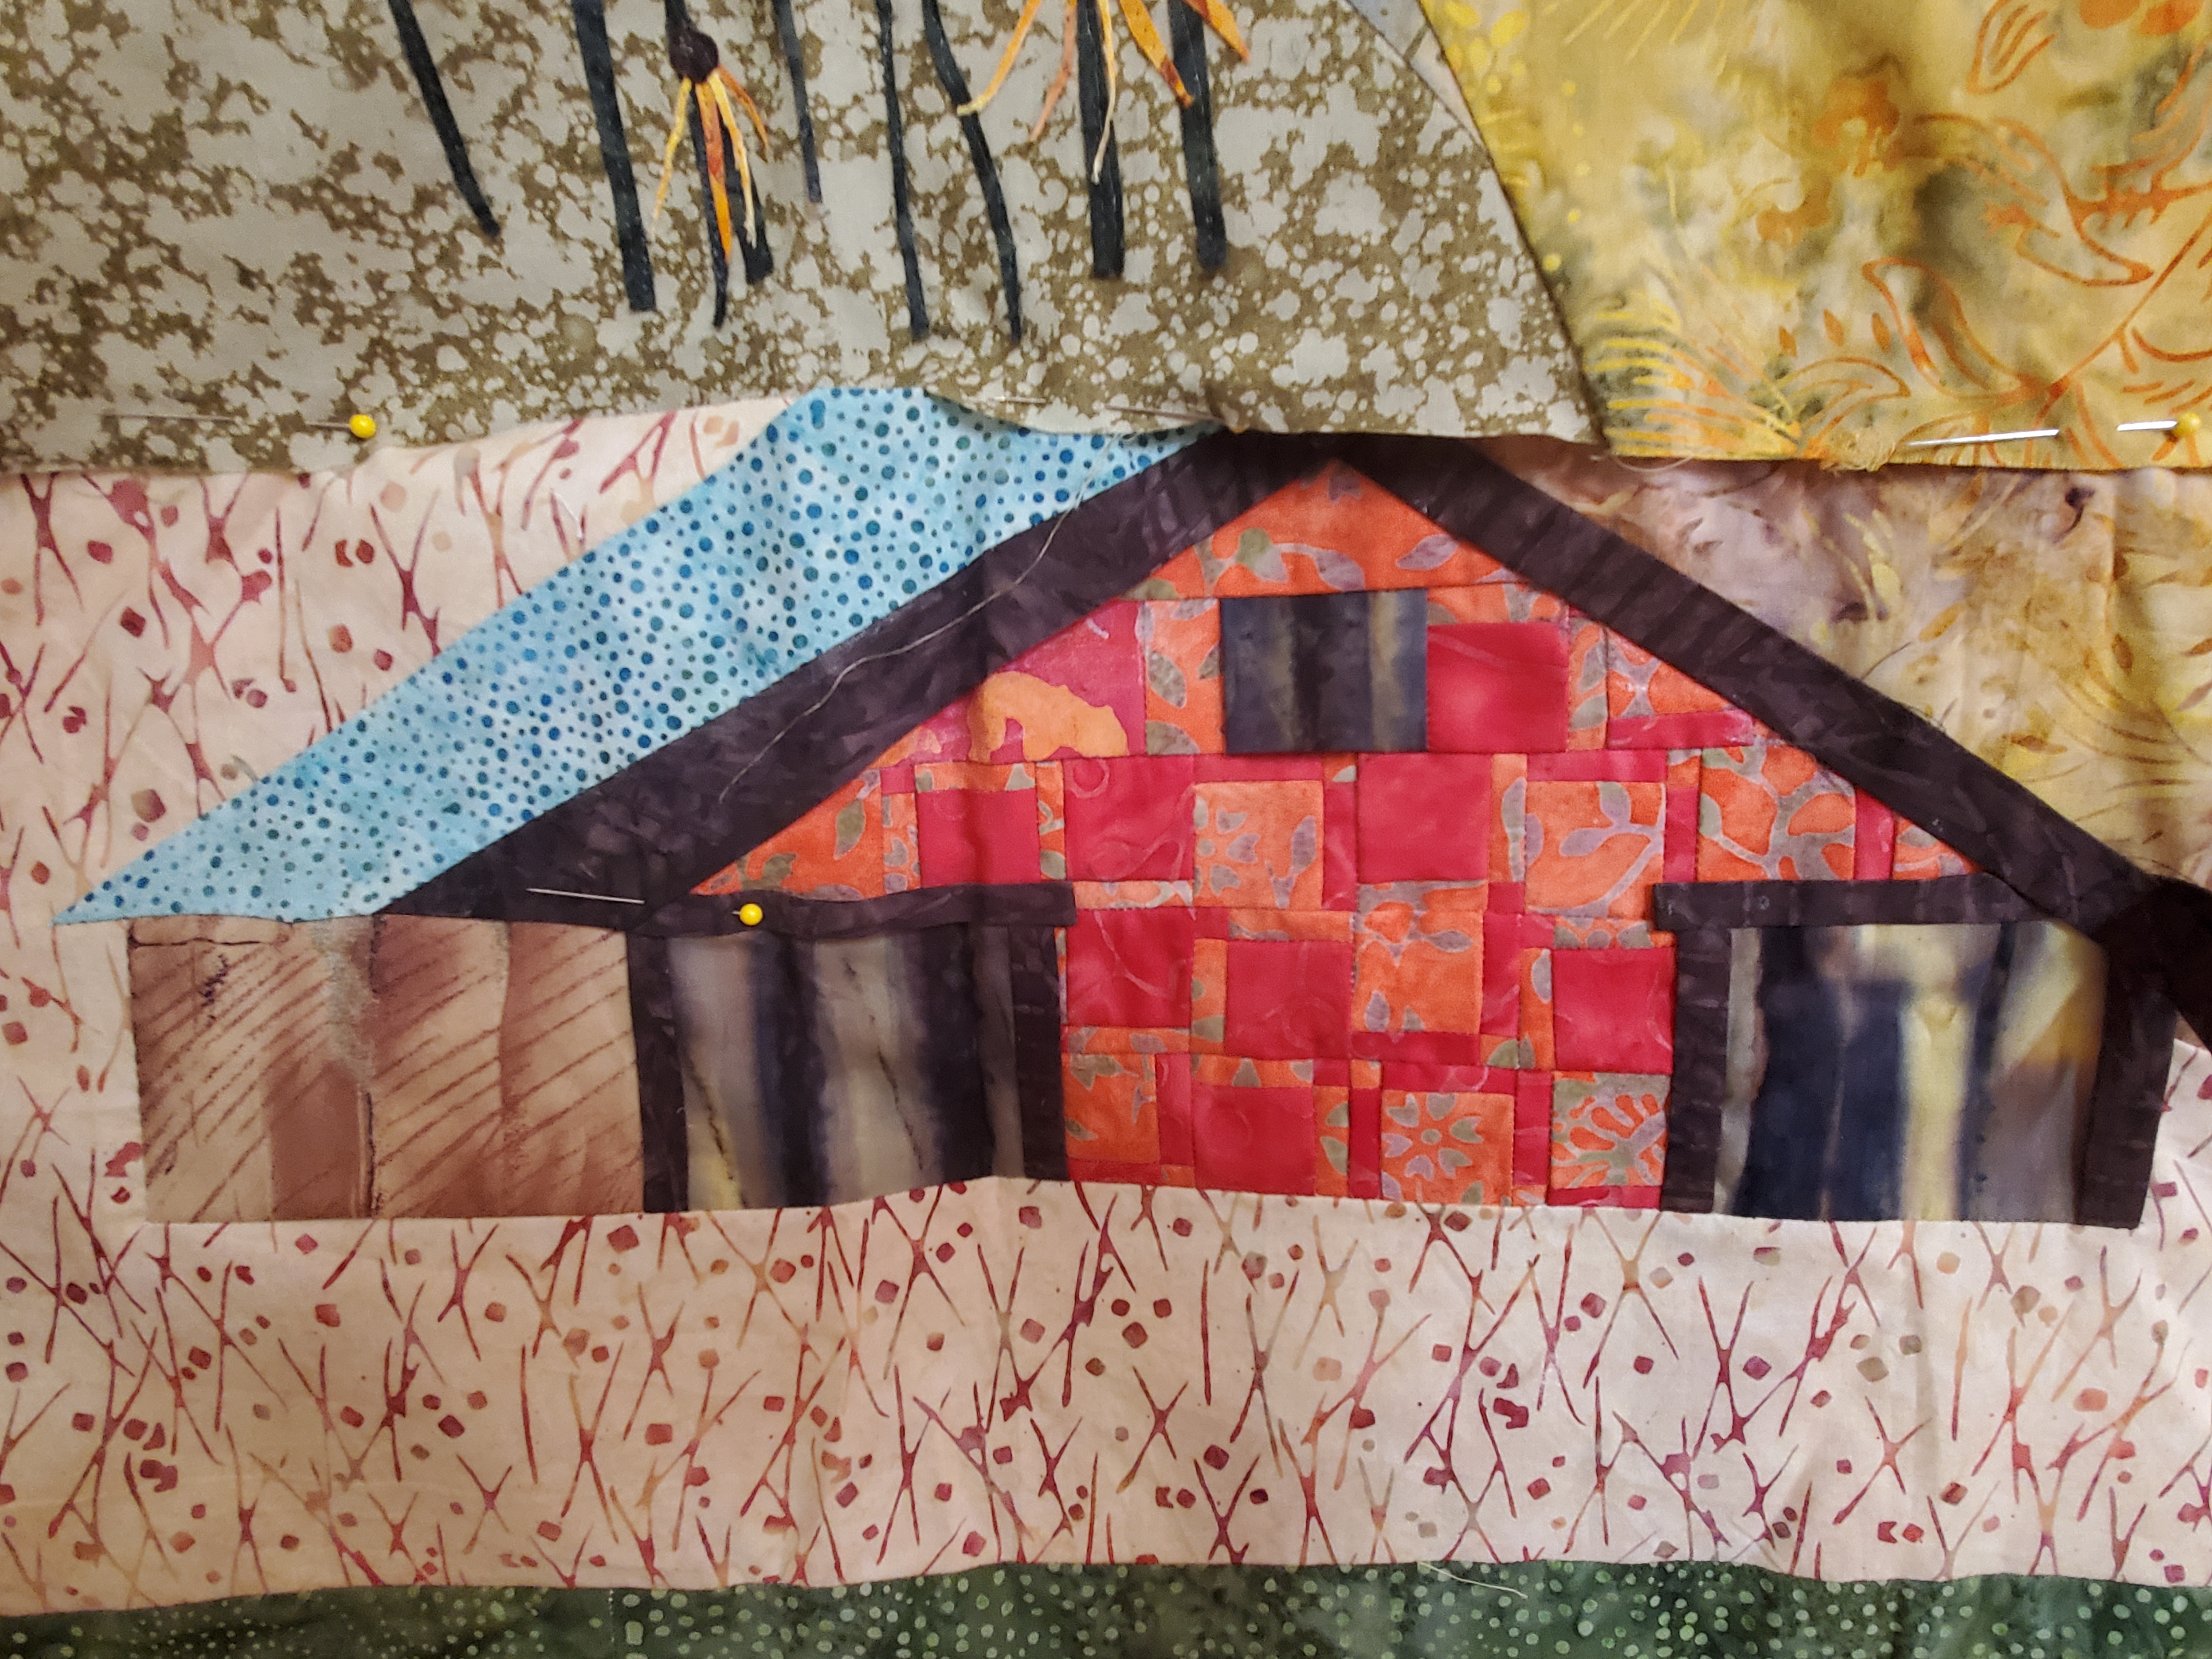
My positive negative blocks were on the barn front. They are square in a square blocks - very small. The tree trunks are needle turn applique'.
Rule Release #5
SIZE: 27" tall by 14" wide to be added to the RIGHT or LEFT side of the quilt.
RULE: machine pieced circle somewhere
TECHNIQUE: thread painting/free motion MACHINE embroidery
My moon is the circle and the tree branches are thread painting.
Rule Release #6
SIZE: 10" tall by 31" wide to be added to the TOP or BOTTOM of the quilt.
RULE: "Place a house or cabin that fits your theme in the block, not a log cabin block but an actual building"
TECHNIQUE: Free style machine curved piecingMy house is the mail box. It is hard to tell in the photo, but the sewing line where green ground meets yellow sky was done with a gentle curve of piecing.
SIZE: The next couple of rule releases combined together will now build a column to either SIDE of the project. This portion of the column will measure 12" wide finished and 17" tall finished. It WILL NOT BE attached to the quilt at this time because we will join it to the other column pieces in the rules that will follow.
RULE: "make something flat that looks 3D (example: tumbling block)"
TECHNIQUE: There is none specified for this month. Do what you want.
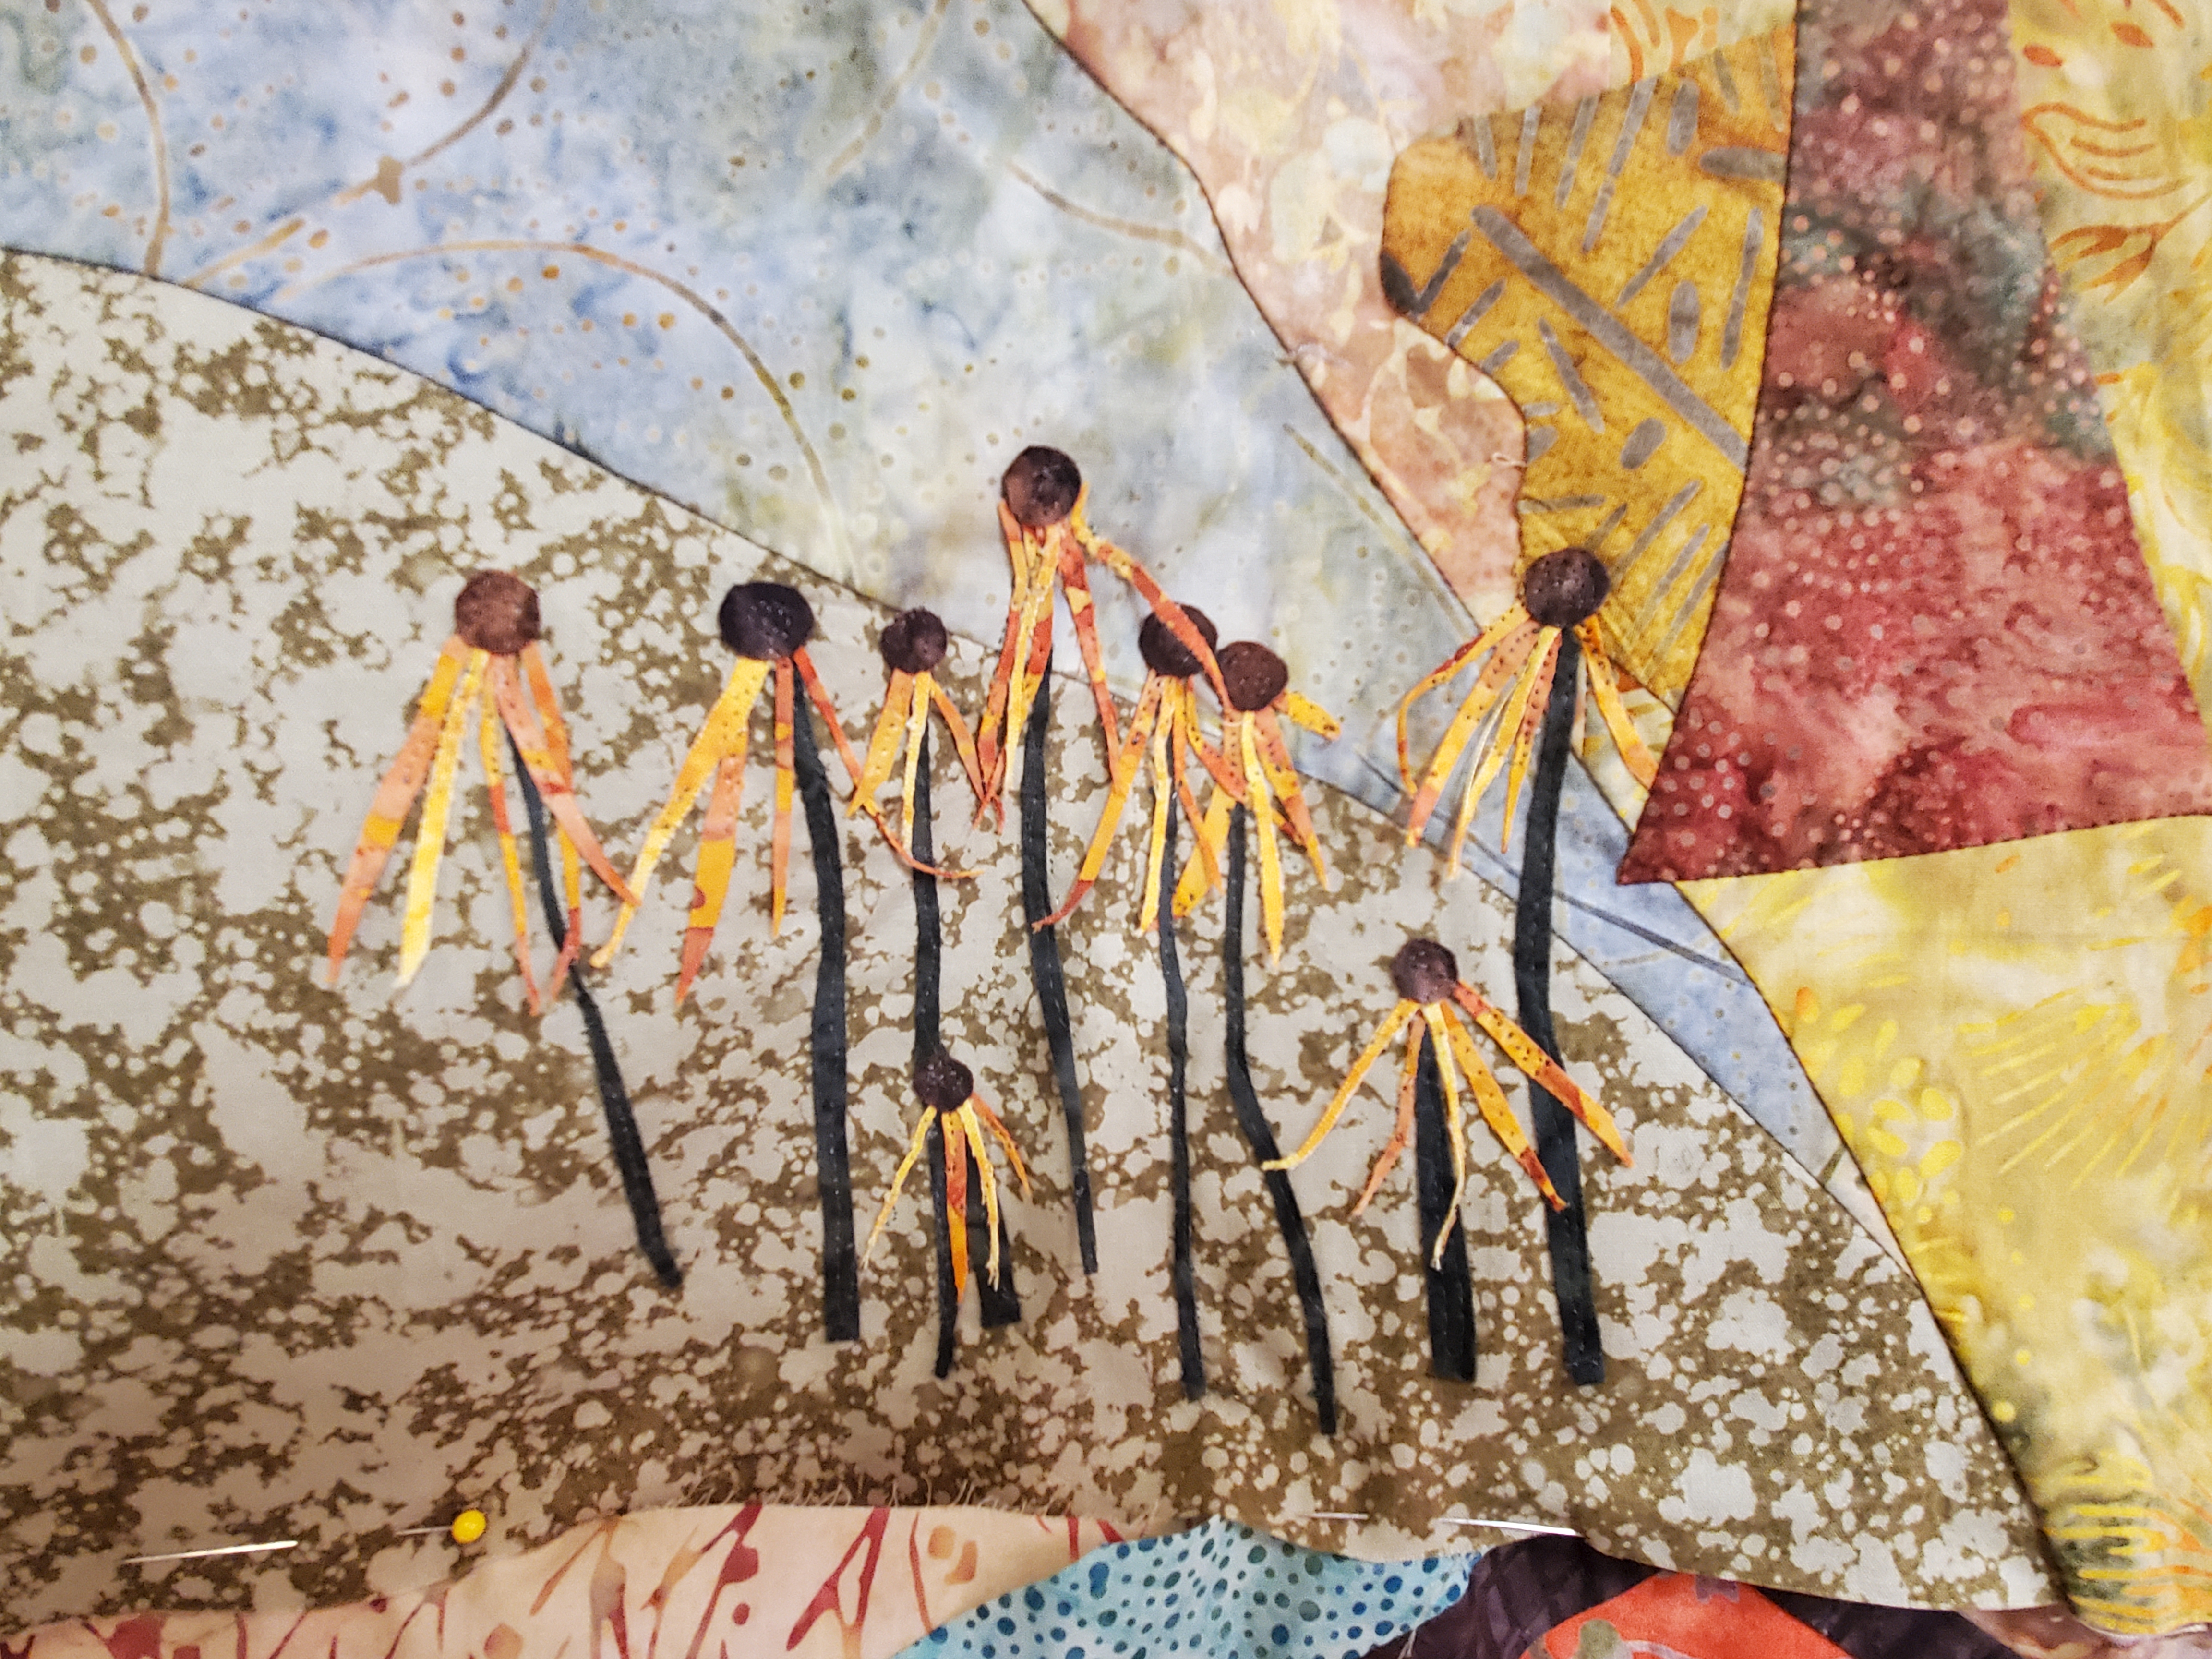
I tried to create a 3D illusion with the barn and the tall trees in front of the rows in the field. I was going for a depth illusion as well.
SIZE: This rule #8 will complete that column. Make it 20" tall by 12" wide finished. Join rules 7 & 8 on top of each other according to your preference to form a column and then to either SIDE of the quilt.
Technique: Paper Piecing technique
Rule: include the color yellow or add a flower of any sort
The yellow and the flowers are obvious. The barn is paper pieced. I designed it. There are many barns around that are nearly falling down. I was trying to portray that.
RULE: Use different sized blocks that fit together. For instance, use a 4" finished block and 2" finished blocks as their measurements fit together easily.TECHNIQUE: Something 3D - it actually has to stick up on the quilt like flower petals or embellishments. (This won't be a flat 3D like we did before.)SIZE: Block # 9 will go on the top or the bottom of the quilt. This block will be the width of the quilt and 12 inches tall finished.
The 3D are the orange flowers under the run down barn. The petals are such that you can actually run your fingers under them.
Rule Release #10
RULE: Make four disappearing 9 patches
TECHNIQUE: Use a folded insert technique. See explanation at the very bottom of this post.
SIZE: Block # 10 should be 9" tall and fit the full width of the quilt (43-1/2" wide). We will place it on the top or bottom of the quilt.
The folded inserts are the cross bars on the barn door (2nd barn door below). The disappearing 9 patches are the front of the red/orange barn. They are very small.
Rule Release #11
Rule: incorporate one or more yo-yo into your block
Technique: any technique you choose
Size: We are going to build another column to go on either side of the quilt. Block #11 will need to be 17 1/2" wide ( 17" finished) by 20 1/2" tall (20 finished). This should bring the quilt width to the right size to fit on top of a queen-sized bed.
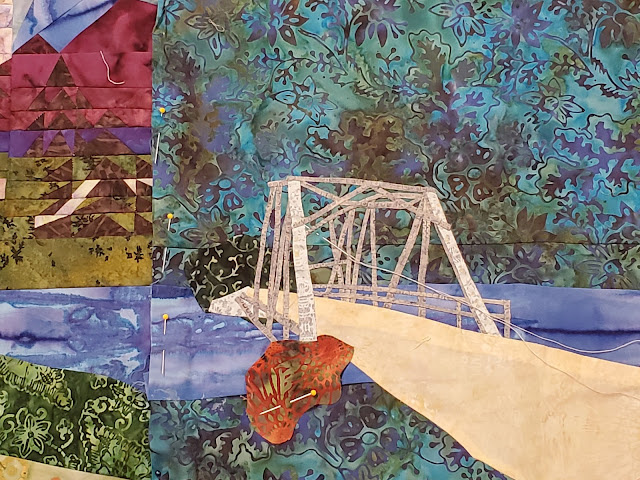
This is the block, but there are no yo-yos on it yet. I think I will do bushes or flowers out of them. They will be on the water's edge somewhere.
That's it. That is as far as I made it. I still need to follow rules 12-15 for a final finish. Wish me luck in my planning! I don't want this quilt to be large, so I may not follow the size rules exactly.
Rule Release #12
Rule: put words in it somewhereTechnique: I am calling this technique the "Buggy Barn" technique. The idea comes from the way Buggy Barn patterned quilts are made. You may use a real Buggy Barn pattern if you choose, but it would be a learning experience to try to make your own.
Size: We are going to add to but not complete the column we started in rule 11. Remember that this column will go on either side of the quilt. Block #12 will need to be 17" wide by 19" tall. You can join block #12 to the top or bottom of block #11.
I am thinking buggy barn pine trees maybe.
Rule Release #13
Rule: Must use 3 tones or values of the same color.
Technique: None - use any technique you choose.
Size: We are going to complete the column we started in rules 11 and 12. Remember that this column will go on either side of the quilt. Block #13 will need to be 17" wide by 19" tall. You can join block #13 to the top or bottom of your 11/12 column.
Rule Release #14
Rule: Make a pinwheelTechnique: combine a hand stitched applique with embroiderySize: We are going to make half of a row this month and next month we'll make the other half to complete the quilt top (minus borders). This row will go on either the TOP or BOTTOM of the quilt. Block #14 will need to be 30" wide by 22" tall. Perhaps I can make a windmill near a barn and use a pinwheel block on top of it.
Rule Release #15
Rule: "No Pink." Technique: Choose any technique you favor. Size: This row completion, once sewn to the TOP or BOTTOM of your quilt, will complete the quilt top -- yay! (minus borders). Block #15 will need to be 30 1/2" wide ( 30" finished) by 22 1/2" tall (22 finished).