Blog Lovin

Follow on Bloglovin
Showing posts with label stack n wack. Show all posts

Wednesday, July 4, 2018

Report on my wonderful trip visiting family last week!

I have returned so refreshed from my visits with family this past week!  No one in my family lives close to me, so I have to road trip to see them.  In my travels I visited my parents, brother's family, and both of my sister's families.  I also visited a cousin and both of my daughters and grand babies.  I have one other brother, and I visited his wife and daughter last week.  

I also have some quilt progress to show.


Sliced Snow Globe is almost a Flimsy!  I plan to finish it today!


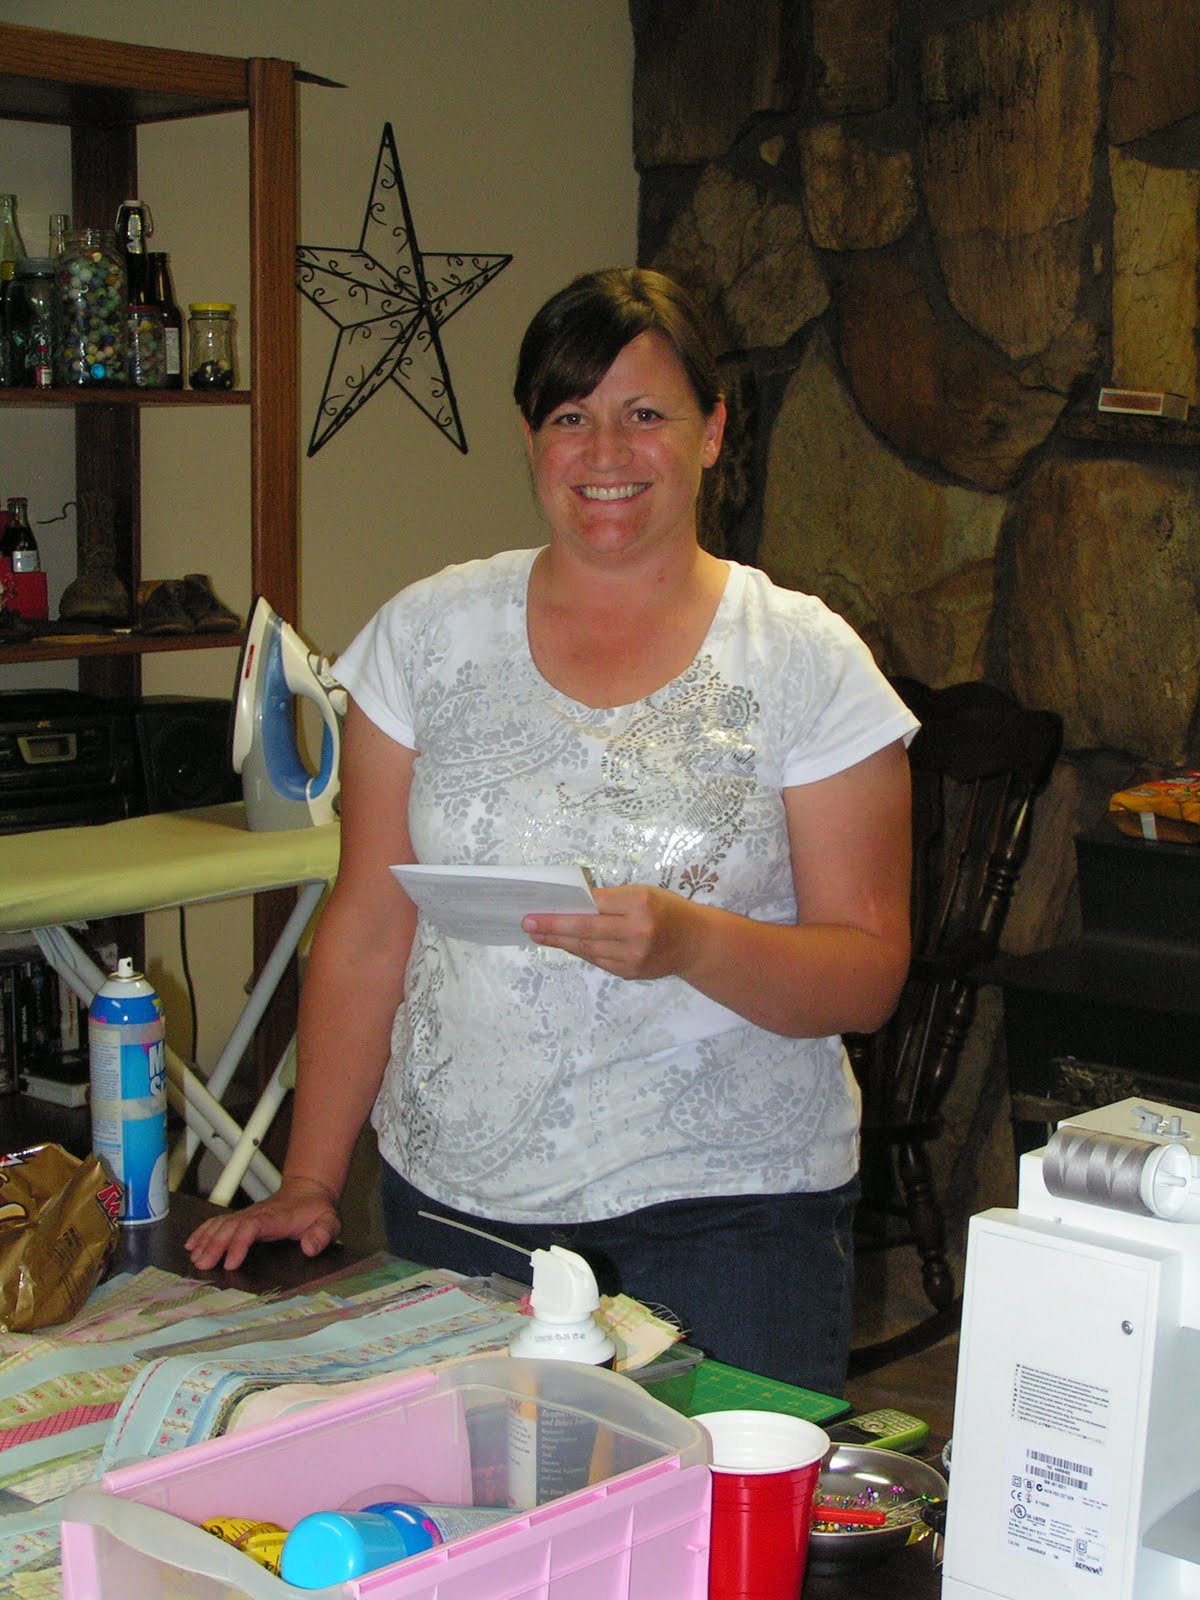
I helped my sister start a heart quilt.  I mostly just cut a little and pressed for her on the last morning I was there.  She is making this for her in-laws to tie and give to the next niece/nephew that gets married.   


She also inspired me so much with her bathroom remodel.  She took these oak cabinets that were a bit dated and put a gel stain on them.  I fell in love and plan to do the same to my bathrooms.  


I also made the bird blocks that go with my flowers. This is called Chicks in the Garden.  It is a crazy bright quilt, but I love it.  

I am a bit sad that the beaks don't show up.  I didn't do a good job of picking them.


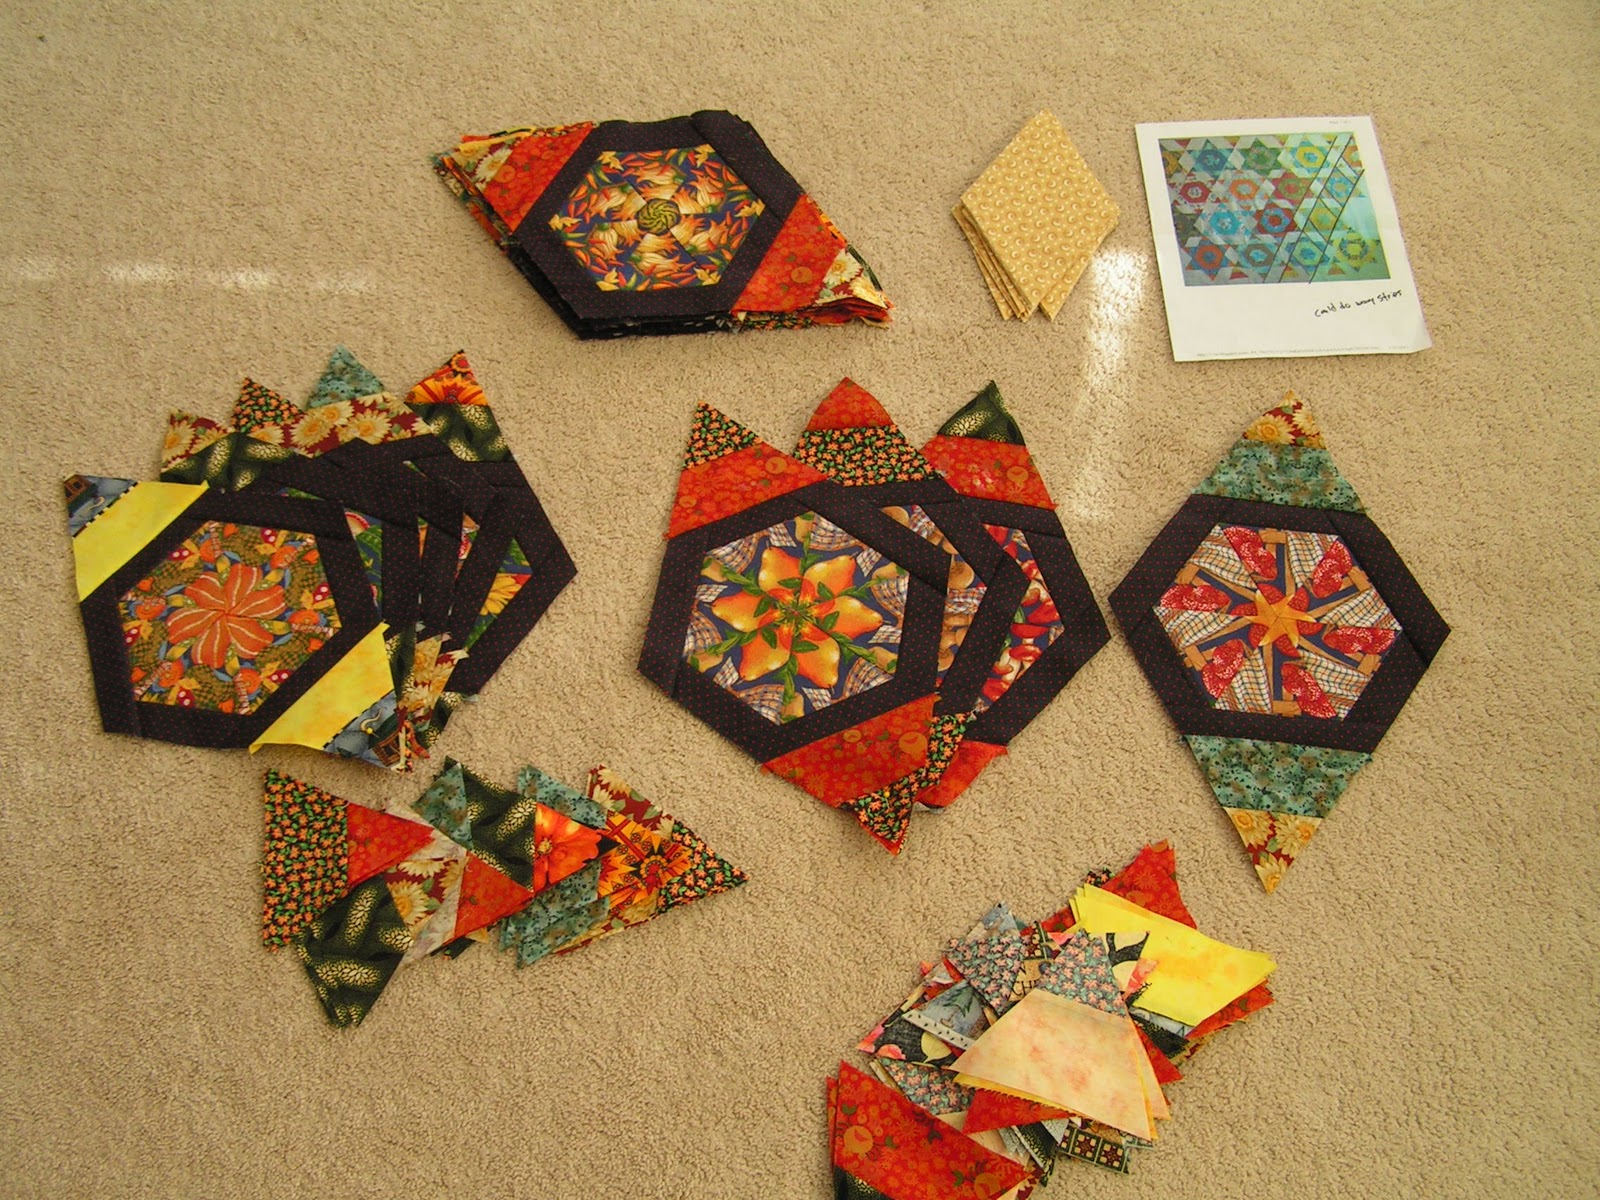
While visiting my cousin, I fell in love with a quilt on her design wall and came straight home to rummage through my stash to make one for myself.  Below is her quilt and the fabric I found to make the main blocks with.  


The best part of coming home was to a finished house.  Our home had cream colored siding that had holes all over it due to a hale storm.  We have since done stucco and rock.  I just LOVE IT!  We are saving to remove and put on a new deck, so please look beyond the ugly deck for now.  The trim (facia) that goes next to the roof is not complete yet either.  

Can I just add that it is super stressful picking stucco colors and rock.  You just hope so much that it all matches and looks good when you are done.  In spite of my worries, I am more pleased with our choice that I ever imagined.  I LOVE IT!  It is also hard to decide where to put the rock.  Our house can be seen from three sides, so we felt we needed to do the front and sides but not the back with rock.  


I am linking up with:

BOMs away
UFO Busting
Moving it Forward Monday
MCM

Tuesday, March 22, 2011

Deana: Brown Bag top done

I just need to add two side borders in cream.  They are cut and ready.  I hope to get the back pieced and start basting it for quilting tonight. 

P.S. It is no longer "coffin" shaped.  I just couldn't like the old shape so I picked it apart and ended up with this -- much much better.  I think it turned out pretty ok for a brown bag fabric swap (fabrics not of my choosing) combined with old orphan stack-n-wack blocks.  It is approximately a "full" sized bed quilt.  I think I'll use it to snuggle on the couch (like I ever have time to do that). #140

Monday, February 14, 2011

progress... (Deana)

I have been busy this week.  Below is a selection of fabrics I found in my stash to help me fulfill the Dorinda Mystery #3 rule.  I must use a fabric or color I wouldn't normally use.  My mystery quilt is all done in batiks so I thought any of these novelty prints would certainly fit the (not normally use) rule.  Below I have tropical birds, Star Spangled Banner music, pink (I don't like pink), frogs, and the very ugly fruit & vegetable print.  Next to that is a netting type fabric and then a silky grey.  Hmmm.  I think I will just ponder ideas for them for a couple of days.

Next is the progress of my Brown Bag quilt.  I have come a long way because I now have blue borders around all the blocks and all the setting blocks stripped and cut for the star points.  Do you see that very ugly fruit and vegetable fabric above?  Well, it is the main fabric in my stack -n- wack fabric below.  I'm actually REALLY liking this brown bag quilt and its journey. 

I've also been making string hearts for the Block Lotto.  This is my first completed one and there are others well on their way.

Wednesday, February 9, 2011

Dying to Brown Bag

Ok, so one of my brown bag fabrics was just THE WRONG COLOR for the fabrics I found to go with it so... I decided to dye it.  Originally I thought I would just tea dye it, but I didn't have any tea and didn't feel up to a trip to town.  Instead, I got out my trusty old Dharma fabric dying products.  They really come in handy when you live in a rural area sometimes.

The photo below shows the magazine I order out of (have literally spent hours dreaming in this catalog) and the products needed for dying.  Here are the steps I follow:

1.  Wash the fabric in Synthrapol to remove any excess products that may be on it.  This prepares commercial fabrics to accept the dyes.
2.  Make some chem water to dissolve the dye powders in.  It is made up of urea and water.
3.  Make a soda ash/water mixture to presoak the fabric in so they will accept the dyes.
4.  Dye the fabric in the urea/water/dye powder mixture.  I used Dharma Golden Brown hoping to darken the pink.
5.  Let sit for 24 hours in the dye cup.
6.  Rinse and machine wash in synthrapol again.
7. Wash in Retayne to set the dyes.

These babies DO NOT RUN OR FADE-- wonderful! 

Below is my pink fabric in the dye cup after 24 hours.  It looks much darker then the look I was going for.
Below is a pre-dyed picture of the pink (far right).

Now it is orange/brown.  The fabric really isn't as pretty but it is the right color for my project.

Below is all of my Brown Bag project fabric.  The first 4 on the left were the ones sent to me.  The rest are ones from my stash.  The colors go nicely together (no pink).  The blocks are a UFO that were made approx. 12 years ago.  The photo is a quilt I found on the internet which models the pattern I am making.

DORINDA GIRLS:  do you recognize the fabric on the far right (orange)?  It was one at our first retreat at Marie's that no one else wanted but me.

Brown Bag allows us to purchase one fabric.  I bought the background fabric the blocks are sitting on.  Fun Fun Fun

Friday, January 7, 2011

Pretty stack n wack

I linked to this gorgeous stack n wack for you-know-who's sake.  I hope you like it.

Saturday, January 1, 2011

Brown Bag received...Deana

I was excited to pick up my mail today because of these fabrics.  My brown bag partner sent them to me.  There are four half yard cuts.  THANK YOU PARTNER and thanks to Joylynn for the project.
I haven't decided if I'll use them or not yet, but I found some blocks from an old UFO that match pretty good.  Maybe I can finish up an old UFO while I'm at this project.  I haven't had the fabrics long enough to decide what else I have that goes with them.

I also found this quilt from eagleswingsquilts that has wonderful hexagon shaped blocks that could use up some of this brown bag fabric and be combined with my UFOs above.
I also found leslie-farmfreshquilts.blogspot.com had a pretzel hexagon shaped quilt she is working on that has inspired me.

Monday, October 25, 2010

Mom's Hexagon's in Rotation quilted

I am so excited to have finished my "One thing, one week challenge".  It was to quilt Mom's queen-sized "Hexagon's in Rotation" quilt.  It seems that I've quilted a gazillion of them, but it was really fun.  The really crazy thing is that I have two of mine that still need quilted.  You can see them here and here.

 
I hope she likes it.


I hope to post better photos later.  It is challenging to get a good photo when there is only one person home to hold the quilt up.  Laying them on the floor just doesn't do them justice.

This quilt project was born at our Dorinda retreat in June.   It is a stack-n-wack quilt designed by yours truly using the Super 60 ruler by Sara Nephew.  It is so fun and so fast to make. 

Below are some links to others I've quilted in the past:


Thursday, October 21, 2010

tessilesablog: aprile 2010

Kaleidoscope quilts for Marie to see. I was interested at how the wavy striped fabric turned out. I would HAVE NEVER used that piece for a stack-n-wack, but it turned out very beautiful.

tessilesablog: aprile 2010

Friday, October 1, 2010

Pink Hexagon quilt top FINISHED!

I finally have a new top finished.  I cannot believe it took me from June to the first day of October to just put borders on this beautiful project.  The colors are SO MUCH RICHER and more beautiful in person - bad lighting I suppose.  The blue and pink pieces are rich batiks.  I believe they add so much to this piece.

I designed this quilt in the early 2000s.  This is the third completed top for me and I've got another one close and an fifth all cut out.  This project is just FUN and EASY to make. 

Monday, June 14, 2010

north winds quilting: Rooster Tales

Here is another stack n wack quilt. I really like it and I even have the same rooster fabric although not enough of it to make this (that's a good thing since I DON'T need another project). north winds quilting: Rooster Tales

Tuesday, June 8, 2010

And here is Deana's workstation
My completed top. Sorry I cut off the top border, but it is the same as the other 3
On Sunday evening, I went to South Weber to stay with grandkids, so their Mom could go to a convention with their dad, and have a few days off.
Since the oldest is 12, she took most of the responsibility of the younger ones, and I was able to complete the borders on my hexagon quilt and put together my June blocks for Star Crazy.

Monday, June 7, 2010

Dorinda Retreat #2

We had a wonderful, relaxing time at the Dorinda Retreat this year.  Everyone in attendance finished an entire quilt top except for Kristen who completed a couple of purses.
Back row:  Lyn, Becky, Felicity, Ann
Front row:  Deana, Kristin, Marie

Mom, Ann, Marie, and Deana pose with their finished Dorinda quilts.  (Deana and Marie's are not quilted yet).  They are all so the same and yet so different.

Ann finished her Hexagon quilt top.

Becky finished a cute little cowboy quilt top on the first day from fat quarters and started on a darling pastel quilt from a kit.  She would have likely finished it as well if she hadn't needed to go home early for a family emergency.

Felicity completed a quilt top on the first day from a layered cake.  She spent the rest of her time making half square triangles for her Star Crazy project and got this much completed:


Lyn finished her Hexagon quilt top complete with borders.
Below is a picture of it in progress...


Marie also finished her Hexagon quilt top.

Kristen completed two purses and started the applique prep on her Scarecrow quilt (the same one I'm dying to make someday).

I, Deana, also went home with a Hexagon quilt top finished.  I also worked on another one that is very close.


Wednesday, May 12, 2010

Linen and Raspberry: A Small Finish and How I Fussy Cut

Linen and Raspberry: A Small Finish and How I Fussy Cut
Since I LOVED the fussy cut hexagon quilt blocks I discovered on a blog, I thought I would post how this lady makes her. It's a great tutorial.

Sunday, May 9, 2010

Mother's Day Weekend

I spent Saturday with one of my daughters and my mother.  We went to the HMQS in SLC and then went shopping.  It was a WONDERFUL day!

Here is the fabric Mom selected for her hexagon quilt.  I gave her the snowman "repeats" fabric because I had enough for two quilts.  I'll make mine up at a later time.  She selected a blue/white background fabric, red for the borders around the hexagon blocks, and two shades of brown for her medallion center.  She plans to use the darkest brown for her spikes inside the blocks and the red for the teardrops.  We got enough of the light brown and red for borders so she can choose later.
Here is a photo of the last hexagon quilt she made.  We did these for our first ever family quilt retreat in 2004.  Deb, Deana, Becky, Lyn, and Loretta were all in attendance and ALL have finished their quilts since.  Most of the quilt top was completed at the retreat because this one is a fast one to make.

Here are some links to the others I have photos of:
Here is a link to the original Hexagon quilt that I designed.  It is only basted and partially quilted.


I also took a photo of Mom's finished Dorinda quilt to show.  Her hand quilting is so STUNNING!  She truly is a master at her craft.


Here is a "Double Wedding Ring" she pieced and handquilted several years ago. She loves pastels. It is so beautiful!

Here is a close up of the hand quilting.  It was tightly quilted motiff.

...and the back.  Instead of a traditional binding, Mom crocheted the edge of the quilt.

This is another quilt we did at a retreat just two years back.  It is probably one of my absolute favorites that she has made. 

Mom made her quilt edge very unique by leaving off the background fabric filler triangles.  She also hand crocheted the quilt edge rather than binding it.  This is truly a WOW QUILT!
Again, she hand quilted this one as well.  This quilt, by the way is HUGE!  It hangs very long over the edge of a queen sized bed.

The mariner compass blocks have fussy cut centers using "mirror image" fabric. The mirror image is achieved by actually using the back of the fabric for half of the pieces. It is so STUNNING!

We all made this mariner's compass quilt at our 2008 family retreat.  Those in attendance were Deb, Deana, Tracy, Felicity, and Mom.  Here are some links to the quilts that I have pictures of:

Here is Mom's "Briar Rose" quilt.  It is a Buggy Barn pattern that we did at our 2006 family quilt retreat.  Lyn, Deana, Felicity, Deb, and Becky were all in attendance.  Deb and I made a "cat" Buggy Barn pattern instead.  ALL of our quilts are completely finished and quilted since this retreat.
...and the hand quilting...
Here is an old round robin quilt Mom just finished the quilt top for.  I LOVE it and it brings back so many memories of friends and family who participated.  Mom selected a "Chevron Braid" for the border.  It is perfect.  I made the large watering can block in the center with the 3D flower and crow on it. 
What a darling country quilt!  Mom requested watering cans, milk cans, and birdhouses when she sent this round robin around.